Drip irrigation is an efficient and cost-effective way to water plants by delivering water directly to the roots.
Unlike traditional sprinkler systems, drip irrigation minimizes water wastage, prevents soil erosion, and ensures plants receive consistent moisture.
Whether you’re a home gardener or a commercial farmer, installing a drip irrigation system can enhance your plant health and save on water bills.
This guide provides a step-by-step process to install a drip irrigation system and discusses its benefits, maintenance, troubleshooting, and best practices for long-term use.
Benefits of Drip Irrigation
Before diving into the installation process, let’s explore some key benefits of drip irrigation:
- Water Conservation – Reduces water usage by 30–50% compared to traditional watering methods.
- Prevents Soil Erosion – Water is applied slowly, reducing runoff and soil displacement.
- Reduces Weed Growth – Water is delivered directly to plants, preventing excess moisture in unwanted areas.
- Improves Plant Health – Consistent watering promotes healthier roots and better yields.
- Automation Options – Easily integrated with timers for hassle-free irrigation.
- Energy Efficiency – Uses lower pressure than sprinklers, reducing energy consumption.
- Flexibility – Can be adapted for small gardens, raised beds, and large-scale farms.
Tools and Materials Needed
Before starting the installation, gather the necessary tools and materials:
| Tools | Materials |
|---|---|
| Shovel | Drip tubing |
| Scissors | Emitters |
| Punch tool | Filter |
| Teflon tape | Pressure regulator |
| Pipe cutter | Connectors and fittings |
| Measuring tape | End caps |
| Hose bib adapter | Backflow preventer |
| Hose stakes | Timer (optional) |
| Bucket (for testing) | Mulch (to retain moisture) |
ALSO READ: How to Use Color to Elevate Your Home’s Curb Appeal?
Step-by-Step Installation Guide
Step 1: Planning the Layout
- Assess the Area – Measure the garden or field where the drip irrigation system will be installed.
- Identify Water Source – A faucet, garden hose, or a well can be used.
- Sketch the Layout – Plan tubing placement and emitter locations based on plant arrangement.
- Choose the Right Tubing – Use ½-inch or ¼-inch tubing depending on the scale of your system.
Step 2: Connecting to the Water Source
- Attach a Filter – Prevents dirt and debris from clogging emitters.
- Install a Backflow Preventer – Ensures contaminated water does not flow back into the main water supply.
- Add a Pressure Regulator – Maintains consistent water pressure to avoid system damage.
- Connect Tubing to Water Source – Use a hose bib adapter to secure the main supply line.
- Test Water Flow – Run water through the system without emitters to flush out any debris.
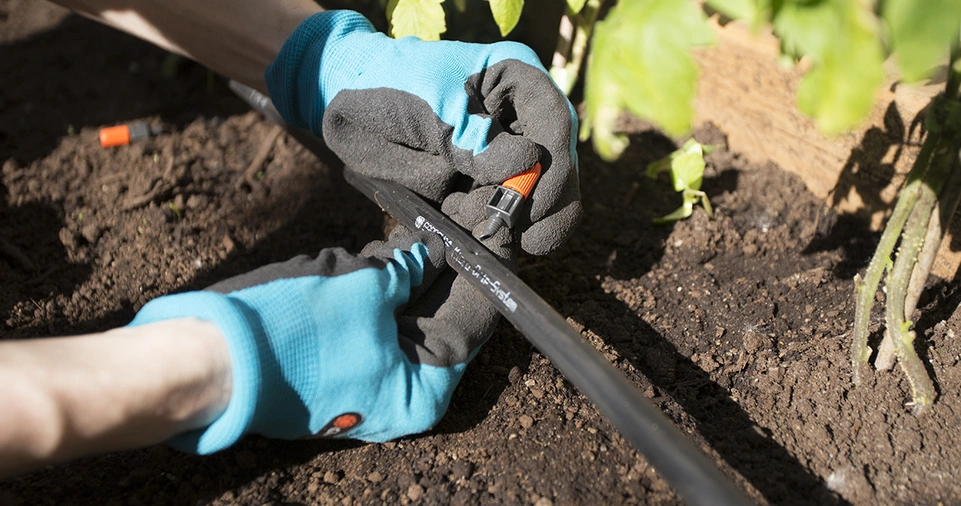
Step 3: Laying Out the Tubing
- Unroll the Tubing – Lay it along the planned path, avoiding sharp bends.
- Secure Tubing – Use stakes or clips to hold tubing in place.
- Cut and Connect – Use pipe cutters to create branches and install fittings as needed.
- Bury Tubing Slightly – Cover with mulch to protect from sun exposure and evaporation.
Step 4: Installing Emitters
- Punch Holes in the Tubing – Use a punch tool where each plant needs water.
- Insert Emitters – Choose appropriate flow rate emitters (e.g., 1 GPH or 2 GPH) based on plant needs.
- Cap the Ends – Close open tubing ends with end caps to maintain pressure.
- Space Emitters Properly – Keep 12–18 inches between emitters for even coverage.
Step 5: Testing the System
- Turn on Water Supply – Check for leaks and ensure all emitters are functioning.
- Adjust Emitters – Modify placement or flow rate as needed.
- Monitor System – Run for a full cycle and observe performance.
- Check for Uneven Flow – Adjust tubing or add regulators if needed.
- Test at Different Times – Ensure system performance in morning and afternoon conditions.
ALSO READ: How to Design a Cozy Reading Nook?
Maintenance and Troubleshooting
| Common Issues | Solution |
|---|---|
| Clogged emitters | Clean or replace emitters, install a filter |
| Uneven water distribution | Check for leaks or clogs, adjust pressure regulator |
| Low water pressure | Ensure proper connections, check for kinks in tubing |
| System leaks | Tighten connections, replace damaged tubing |
| Excessive runoff | Reduce water flow, reposition emitters |
| Bacterial buildup | Use a diluted vinegar or hydrogen peroxide flush periodically |
Automating the System

For added convenience, consider integrating a timer with the drip irrigation system. A programmable timer allows you to schedule watering sessions, ensuring consistent moisture levels without manual intervention.
Some timers include sensors that detect rain and adjust watering accordingly, further conserving water.
Advanced Automation Features
- Smart Irrigation Controllers – Sync with weather data to adjust watering schedules.
- Soil Moisture Sensors – Detect when soil is dry and trigger irrigation.
- Wireless Monitoring Systems – Control and monitor water flow via a smartphone app.
Best Practices for Drip Irrigation
To maximize efficiency, follow these best practices:
- Water Early in the Morning – Reduces evaporation and allows roots to absorb moisture.
- Regularly Inspect Emitters – Prevent blockages and ensure consistent water flow.
- Use Mulch – Helps retain soil moisture and prevent overheating.
- Flush the System Monthly – Clears debris and maintains performance.
- Adjust Watering Schedule Seasonally – Increase frequency in summer, reduce in rainy months.
- Group Plants by Water Needs – Helps optimize watering efficiency.
ALSO READ: How to Compare Corded vs. Cordless Tools for Your Needs?
Conclusion
Installing a drip irrigation system is a practical way to enhance water efficiency and improve plant health.
By following this guide, you can set up a reliable system tailored to your garden’s needs. Regular maintenance and occasional troubleshooting will ensure its longevity and performance.
Whether for a small backyard garden or a large agricultural field, drip irrigation is a sustainable choice that benefits both plants and the environment.
With the right planning, automation, and best practices, your irrigation system will serve you efficiently for years to come.